Writing aids in the editor
Everything here works on the sentence in front of you, right now — as opposed to the analysis tools, which report on the book as a whole. Three correction tools, a way to comment on a passage, a record of which words were whose, and one command that changes nothing about the sentence at all — only the colour of the page you are writing it on.
Writing Tools
Apple's own on-device rewrite panel — Proofread, Rewrite, Friendly, Professional, Summarize and the rest — reachable from the toolbar's Writing Tools button, the Edit menu, or right-clicking a selection. Nothing leaves your Mac.
Antidote
A separate, licensed French/English grammar and style checker (Druide's Antidote) you install and purchase yourself. When it's found, the toolbar's Antidote menu opens its Corrector, Dictionaries or Guides against the focused chapter or scene; the button greys out rather than disappearing when it isn't installed.
[[character:ada-marsh|Ada
Marsh]]
down to what you actually typed — is masked before the text
reaches Antidote, so it reads "Ada Marsh" like any other word rather than
seeing a slug and a UUID as part of your sentence. Nothing in the real
manuscript changes; the masking exists only for the copy Antidote reads.
Harper
An offline grammar-and-style checker that runs entirely in-process via WebAssembly — your prose never leaves this Mac, which is worth knowing if you're writing about sensitive material. It ships bundled inside Sgeulai, so there's nothing to install; turn it on under Settings ▸ Grammar & Style and it's ready.
Once it's on, Check Grammar and Style with Harper — the checkmark icon in the editor toolbar — shows or hides the side panel where findings actually live. Checking runs continuously while that panel is open, picking up again shortly after you stop typing, rather than being something you trigger by hand each time.
Harper never flags a Story Bible name as a misspelling — every character, location, organization and object name is added to its dictionary automatically. A dialect picker (American, British, Canadian, Australian) covers the rest of your own spelling.
The red dotted underline in the prose is a different checker. The editor also keeps macOS's own check-spelling-as-you-type switched on, and that one knows nothing about your Story Bible, so an invented name can be underlined in the text even while Harper's panel leaves it alone. Right-click the word and choose Learn Spelling to add it to your Mac's dictionary, which then accepts it in every app, not just this one.
Each finding in the panel is a card: what it flagged, why, and up to four one-tap suggestions — clicking one applies it immediately, no separate confirm step. A spelling flag also offers Add to Dictionary, which accepts the word everywhere from then on. Clicking a card itself (not a suggestion) jumps you to that spot in the prose rather than fixing anything — useful for reading a flag in its actual context first. To stop seeing a whole category of finding, turn it off under Settings rather than dismissing findings one at a time — there's no per-finding ignore.
Continuity as you type
A Sgeulai Pro feature. When you pause in a scene or chapter, the words that contradict your Story Bible get a dashed teal underline, and hovering over them says why. It checks four things, in the section you're writing:
- an eye or hair colour the character's record doesn't give them;
- a real name, where the record has a manuscript name to use instead;
- an age the character's birth date and the scene's date don't allow;
- a link to the wrong kind of record — a character link pointing at a place.
It uses no AI, nothing leaves your Mac, and it works on what you've typed before it's saved. There's no sound, count or panel: fix the words and the underline goes at the next pause. A finding you chose Ignore for in Continuity Check stays ignored here.
The rest of Continuity Check still runs only when you ask: those rules look across the whole book (who is where and when, who knows what, what's mentioned before it's introduced), which is too much to do between keystrokes. Turn the underlines off under Settings ▸ Writing ▸ Check continuity as you type.
Notes and citations
Footnotes, endnotes and citations are inserted from the Format menu and formatted by the project's citation style. They have their own page: Notes & citations.
Comments
Select a passage, right-click, and choose Comment on Selection to leave a margin note anchored to it. A comment survives the passage being edited around it — it re-finds its anchor by the text it was attached to, and if that text is ever cut entirely, the comment says so rather than silently vanishing or pointing at the wrong place.
The comments panel itself is shown or hidden with the speech-bubble toggle in the editor toolbar — a yellow badge on it counts however many comments are still open. Adding a comment opens the panel automatically, so you never lose track of one you just wrote.
A comment's body is the same wikilink-aware field as everywhere else in the app — see Wikilinks and backlinks. A comment that links to a character or a note becomes a real, bidirectional connection, visible from that record's own Connections tab.
How AI-edited passages are tracked
With Highlight AI-edited text on (Settings ▸ Writing Aids), a passage Writing Tools rewrote is shaded pink and flagged with an "AI-edited" badge in the corner. The badge names how many passages are marked and, right beside the count, what share of this chapter or scene's own words that comes to — a section rewritten twice over reads differently from one with a single sentence swapped, and the percentage is what tells them apart at a glance. The same badge's menu is where you clear the marks once you've reworked a passage by hand.
Proofread is marked word by word. Only the words Writing Tools corrected are shaded, not the sentences of your own between them, and each counts as its own passage. When a paragraph comes back with more than about two words in five changed — a Rewrite, Friendly or Professional — it is shaded as one passage from the first change to the last.
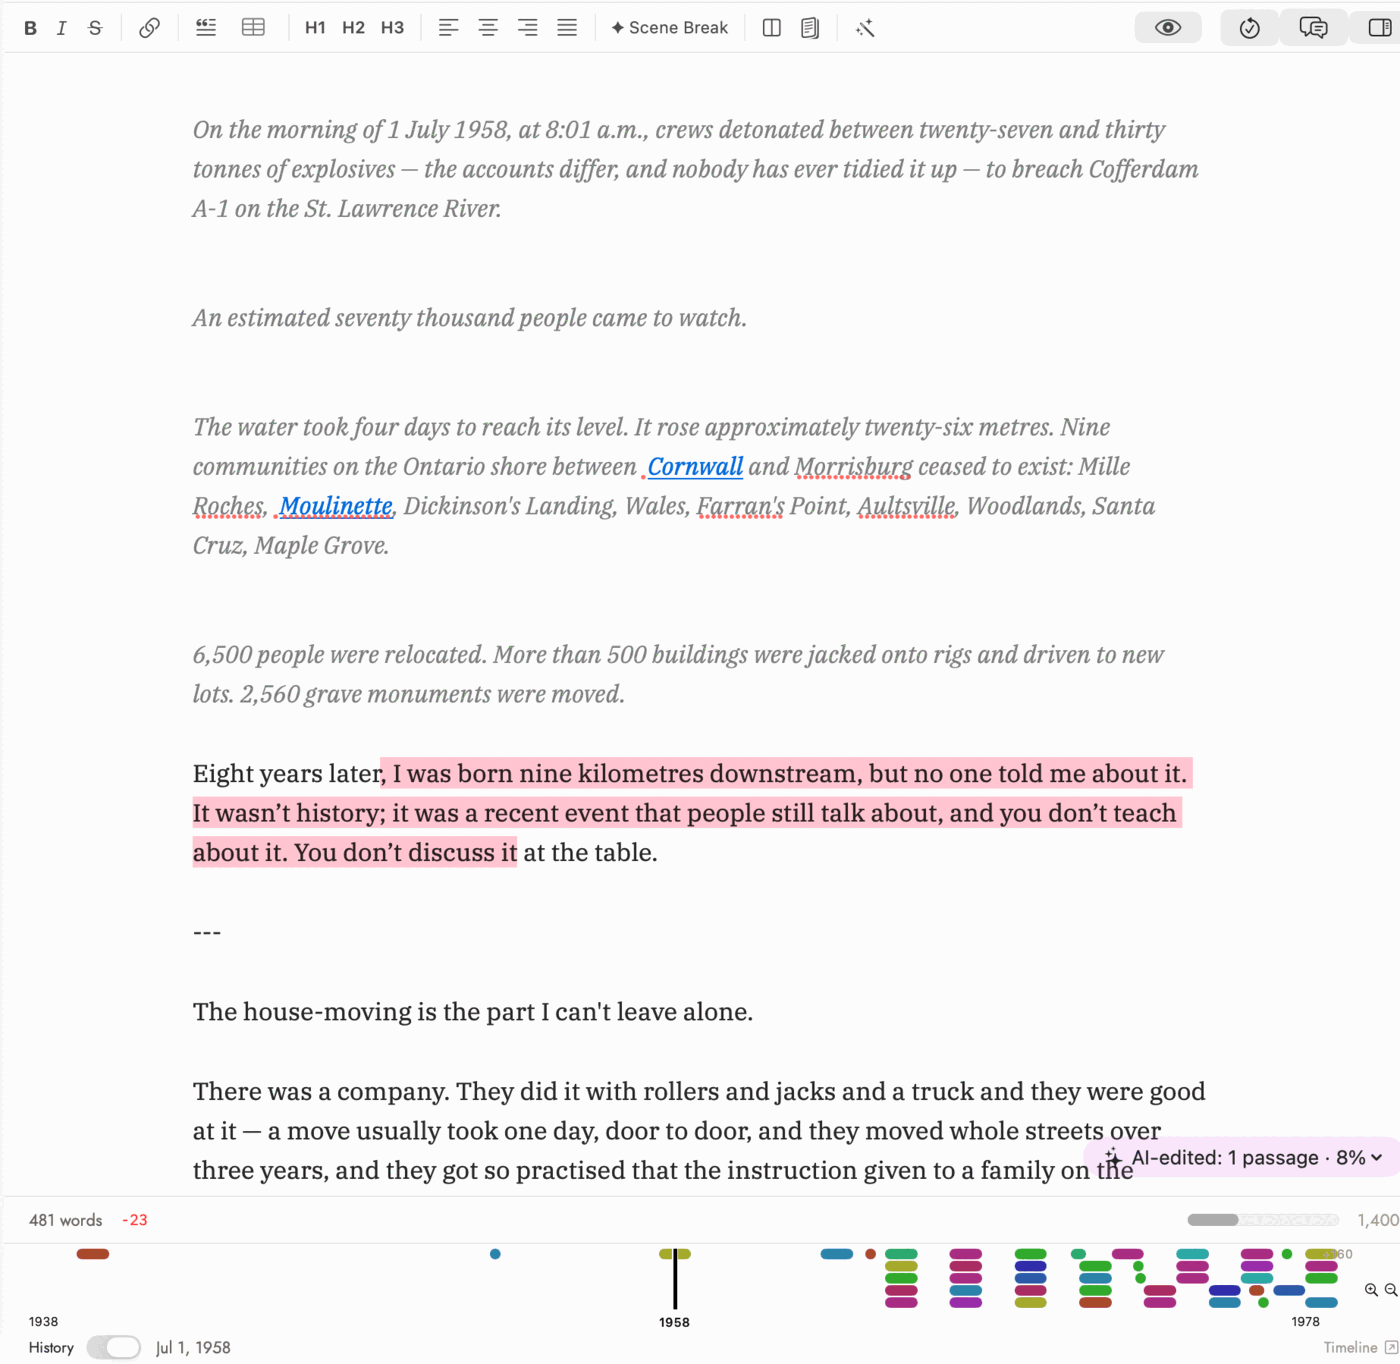 One passage, eight per cent of the section. The
percentage is the part worth reading — one rewritten sentence and a
wholesale rewrite both say "1 passage" without it.
One passage, eight per cent of the section. The
percentage is the part worth reading — one rewritten sentence and a
wholesale rewrite both say "1 passage" without it.
The app also watches for AI text arriving a second way: pasted in from a chatbot. Two independent signals catch this without you doing anything — a browser copy carries the page it came from, and copying from the ChatGPT or Claude desktop apps is recognised by which app was frontmost when the clipboard changed. When neither signal is present but a large paste clearly happened anyway — most often because it went through a chatbot's own in-page Copy button, which strips that information — a small prompt asks whether to mark it AI rather than guessing either way.
A passage you insert from Draft Here is marked too, with no guessing involved: the app wrote it.
All of this is controlled from Settings ▸ Writing Aids, and every toggle there can be turned off independently — see Settings reference.
The AI Provenance Report
Export ▸ Export AI Provenance Report… generates a PDF breaking down how many words in the manuscript carry each kind of AI mark — Writing Tools, a pasted chatbot passage, one you confirmed by hand — as a share of the whole book, with a plain-language explanation of what each category means.
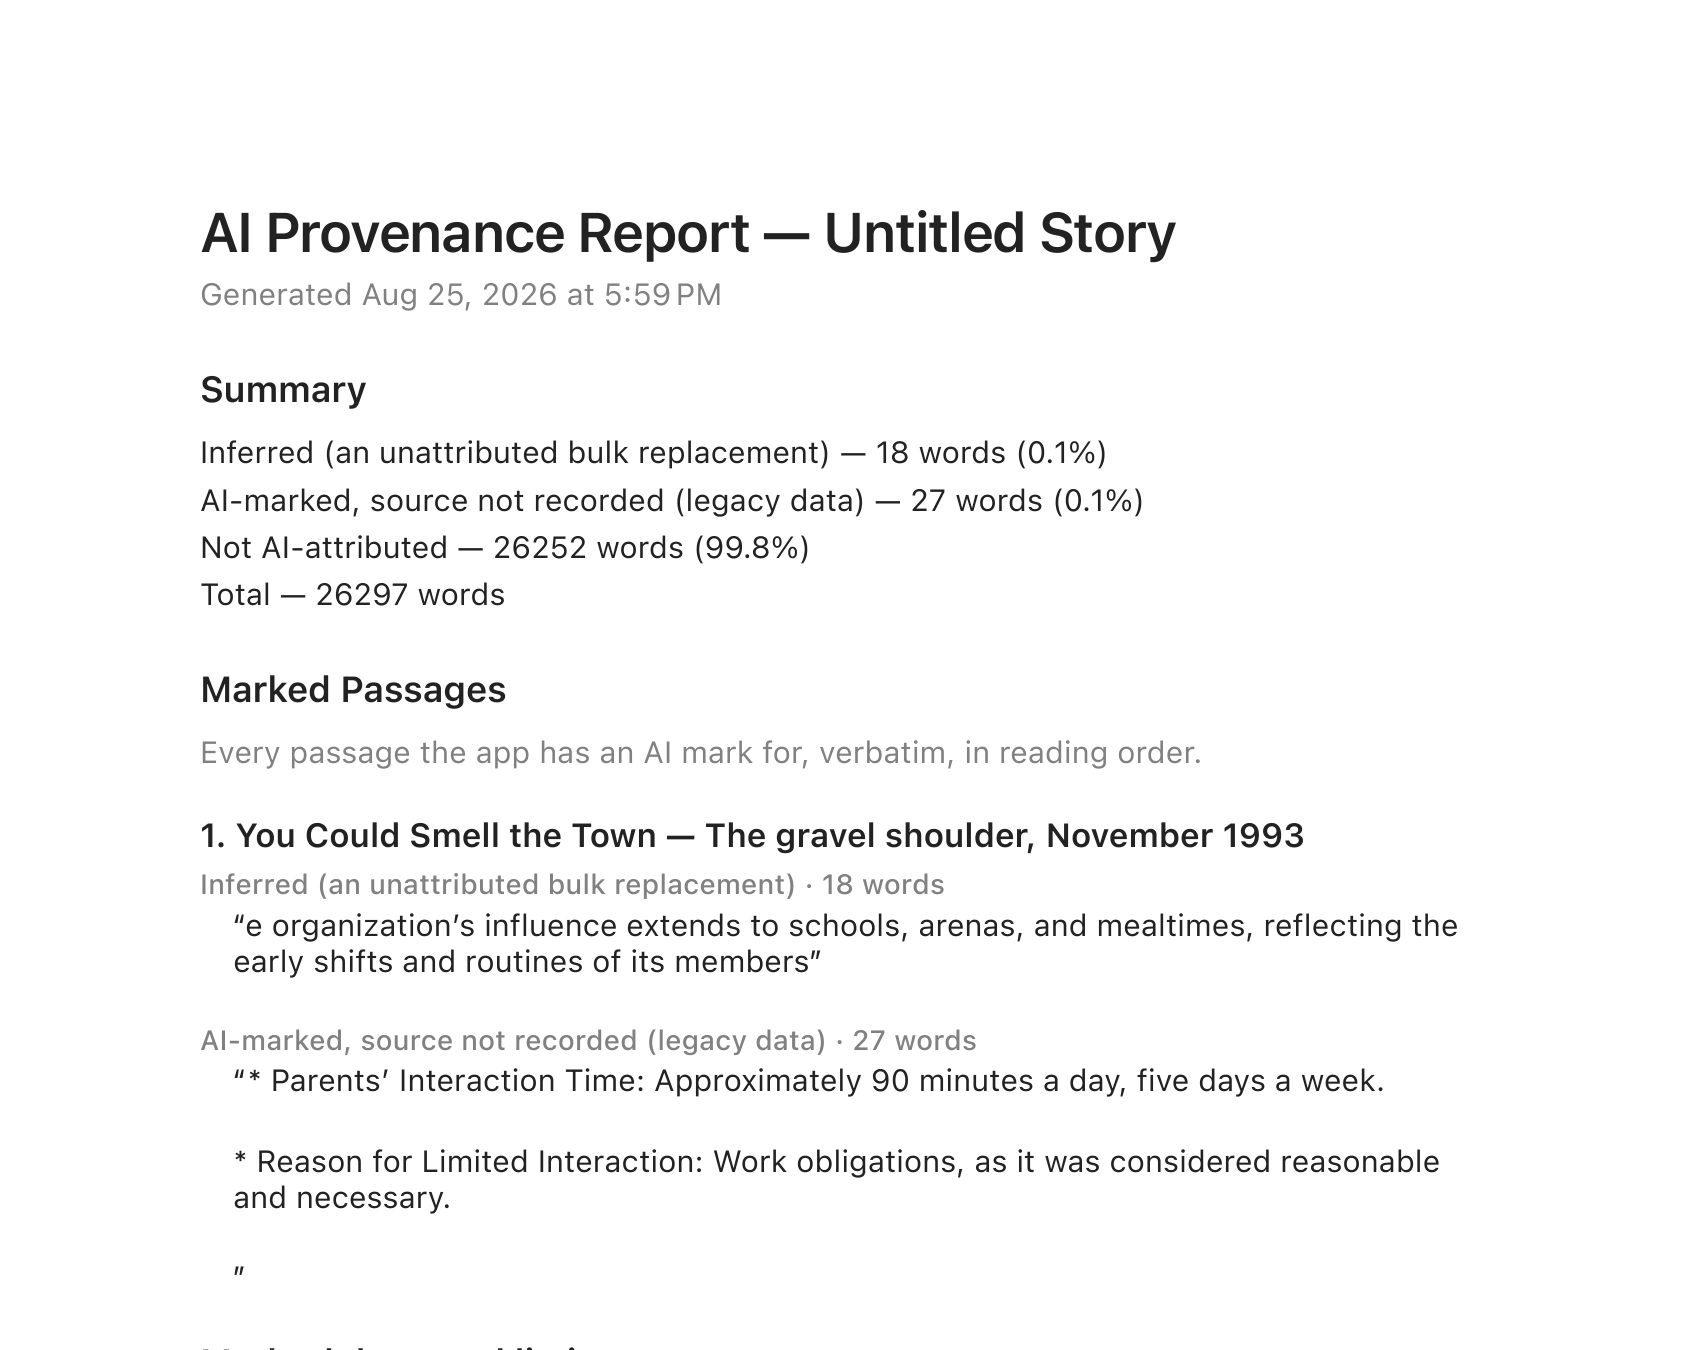 The summary is percentages; everything after it is
the passages themselves, quoted in full. That is what makes the report
answerable rather than just a number.
The summary is percentages; everything after it is
the passages themselves, quoted in full. That is what makes the report
answerable rather than just a number.
Underneath the summary, a Marked Passages section quotes every marked span verbatim, in reading order, chapter by chapter and scene by scene — not just a total, but the actual sentences the total was built from, which is what makes the report something you can hand to an editor or a publisher and have them check for themselves rather than take your word for it.
The same figures are also live, without exporting anything — Statistics… in the Tools menu has its own AI-Assisted Content section, scoped by whichever manuscript(s) that dashboard's own picker has selected. See The Tools menu.
The same report, for a program
Export ▸ Export AI Disclosure Manifest (JSON)… saves the same report as a JSON file, for a publisher, agent or contest whose submission system reads disclosures itself. It holds the same totals and the same passages, plus what a program needs to check them:
- the scene or chapter each passage is in, and where it starts and ends in that section's text;
- whether the app is sure the passage is AI-written, or only guessed it from how the edit looked;
- a SHA-256 fingerprint of each passage, to check it without comparing the text;
- the IPTC label
trainedAlgorithmicMediafor passages a model wrote outright: drafted in Sgeulai, pasted from a chatbot, or confirmed by you at paste time; - the AI entries from each section's change history, such as which model drafted a passage and whether you inserted it despite a contradiction.
The file starts with "format": "sgeulai-ai-disclosure" and
a formatVersion. Later versions may add fields. Renaming or
removing one raises the version.
Night Page
View ▸ Night Page (⌃⌘N) puts the manuscript on a dark page — and only the manuscript. The binder, the inspector and the menus stay as they are.
That narrowness is the whole feature. The app already follows your Mac’s light or dark appearance, so this is for the case the system cannot express: a writer on a light desktop who wants a dark page anyway, because the manuscript is the one surface somebody sits inside for hours and a bright page filling the screen at one in the morning is a real cost.
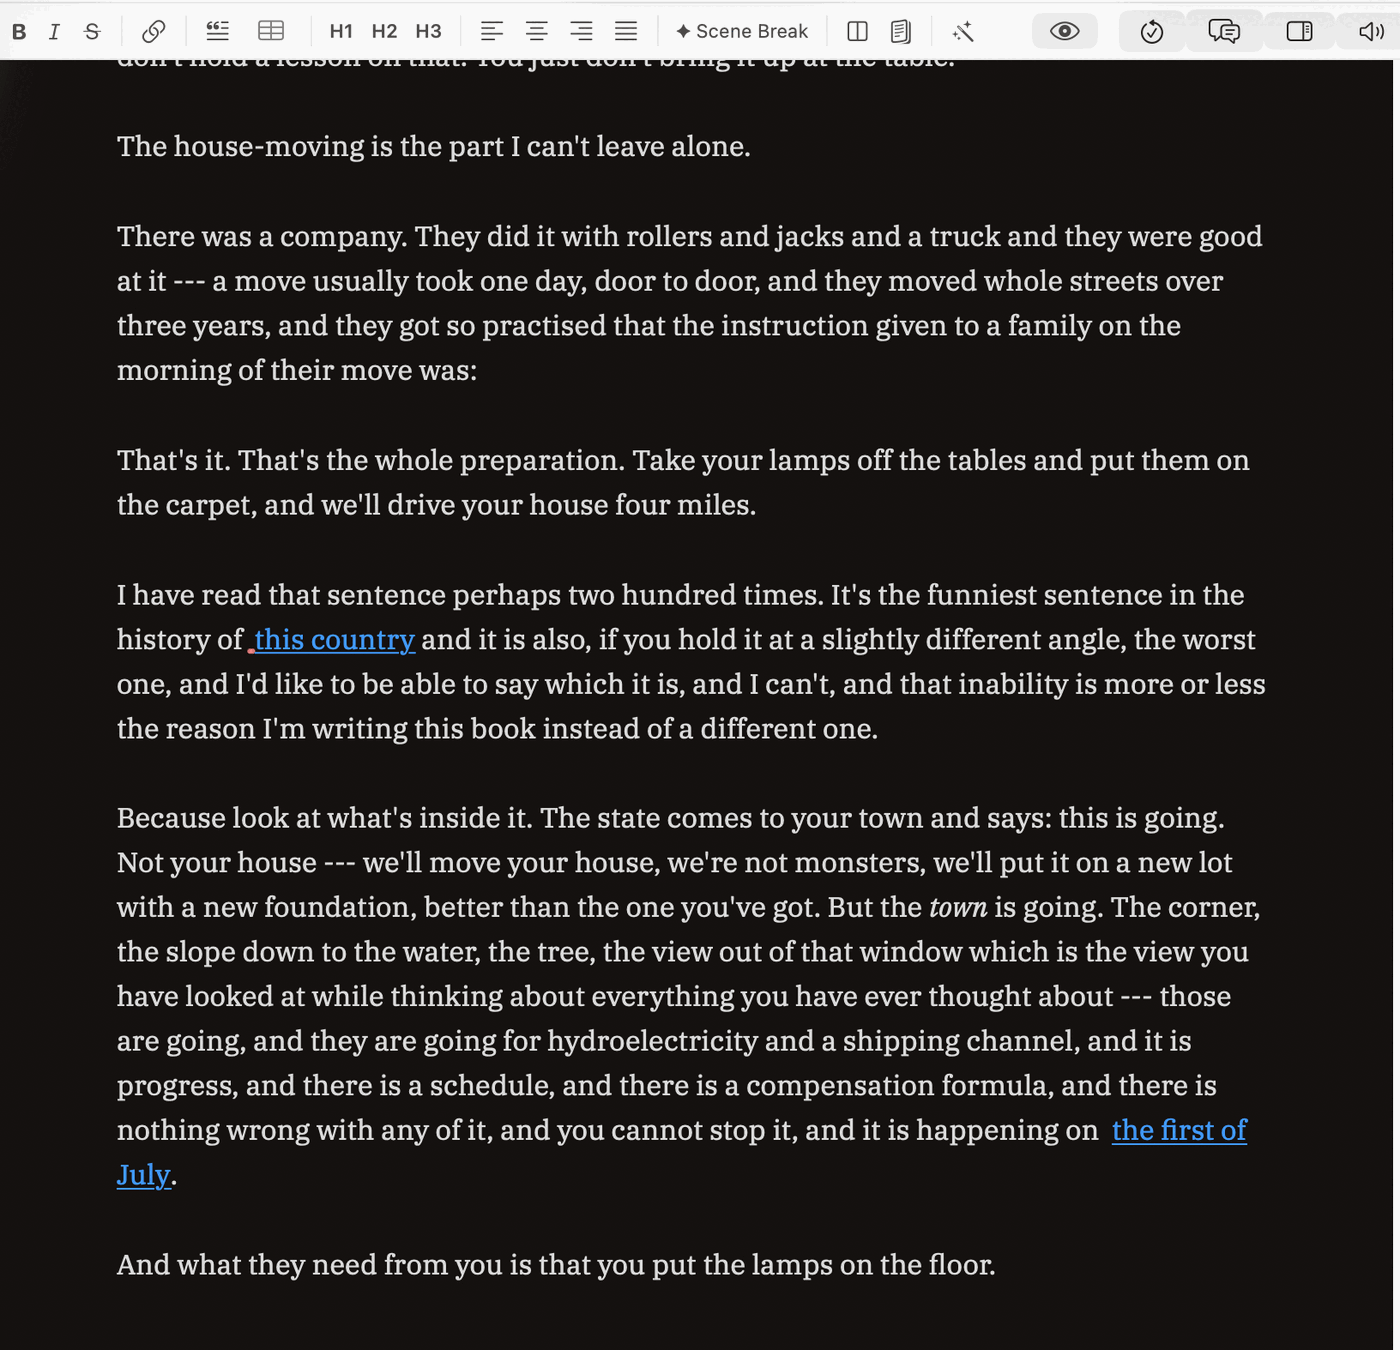 The toolbar an inch above the prose is the point: nothing
outside the page darkened. On a dark desktop the same command is close to
invisible, which is why it exists for light ones.
The toolbar an inch above the prose is the point: nothing
outside the page darkened. On a dark desktop the same command is close to
invisible, which is why it exists for light ones.
Switched off it means inherit, not “force light”, so a dark desktop does not end up with one bright rectangle in an otherwise dark app. The menu item names what it will switch to: it reads Night Page when you are on paper and Day Page when you are not.