Research Highlights
Whatever you've highlighted or annotated in Apple Books, browsable from inside the project you're writing, and one keystroke from becoming a quoted passage in your prose — with a citation that names its source, not just a floating quote.
Getting your highlights in
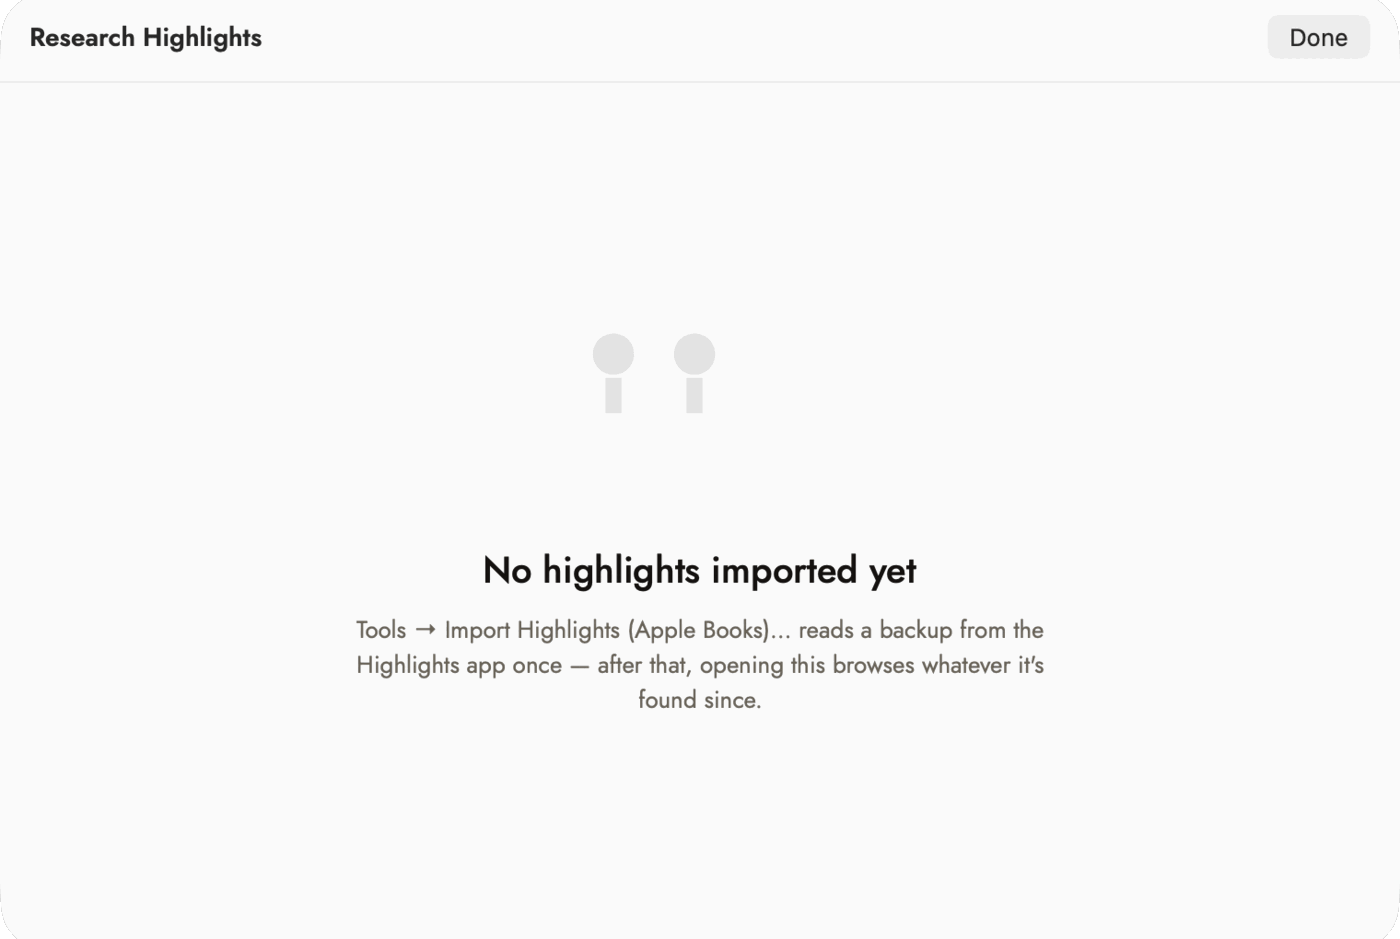 The empty state carries the instruction, so a project
that has never imported anything still tells you where to start. Import is
a separate menu command; this browser only reads what the import
found.
The empty state carries the instruction, so a project
that has never imported anything still tells you where to start. Import is
a separate menu command; this browser only reads what the import
found.
The free Highlights app does the job of getting your annotations out of Apple Books' own container and into two plain files in one folder — this is the only path into Research Highlights, and it's also where extended book details looked up by that separate app come from:
~/Library/Application Support/Highlights/HighlightsBackup.json
— the highlights and notes themselves
~/Library/Application Support/Highlights/MetadataCache.json
— extended details Highlights looked up for each book (see
Extended book details below)
Import ▸ Import Highlights (Apple Books)… is the command. What it does first depends on whether Highlights is on your Mac:
- Highlights is installed. The first time, a folder picker opens, asking you to select the Highlights folder. Choosing it gives Sgeulai permission to read both files, once. Every import after that reads straight through with no picker.
- Highlights isn't installed. An alert explains that Research Highlights needs the Highlights app. Get Highlights… opens its download page; Locate Manually… lets you choose a backup you already have.
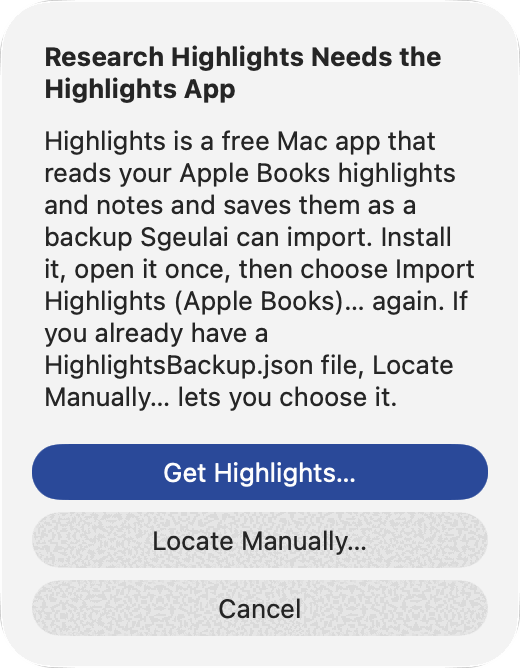 Shown only when Highlights isn't on this Mac.
Get Highlights… is the usual answer.
Shown only when Highlights isn't on this Mac.
Get Highlights… is the usual answer.
Locate Manually… opens an ordinary open panel. The
folder you need is inside ~/Library, which Finder hides by
default, so ⇧⌘G and pasting this path is the
quickest way to reach it:
~/Library/Application Support/Highlights. Choose
HighlightsBackup.json — the highlights themselves.
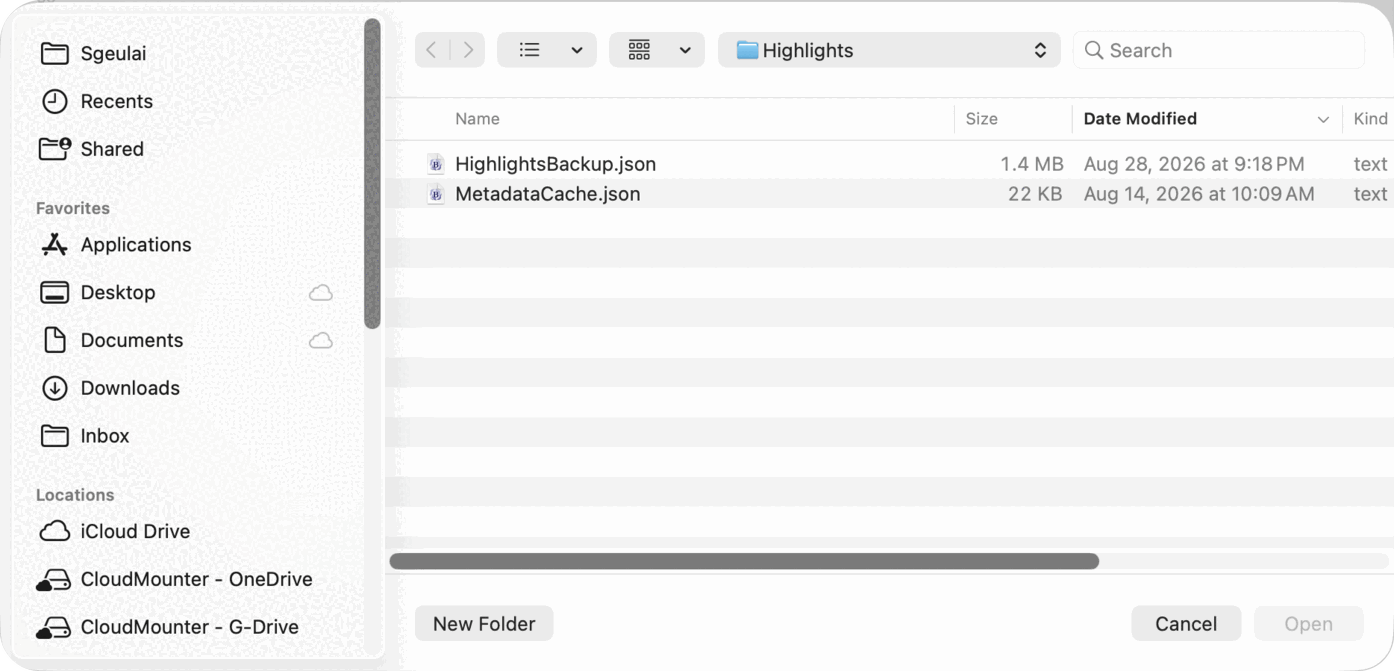 Two files, one to pick.
MetadataCache.json beside it is the
extended book detail below, which Sgeulai
reads separately.
Importing is additive — a highlight already known by its own stable ID is skipped, never duplicated, so re-running it costs nothing.
If Highlights is installed but the folder is empty, it has never been opened. Open Highlights once, then import again.
Extended book details
Beyond a book's title and author, more is usually available — a publisher, publication year, ISBN, language, a description, and subject or genre tags. Not every book gets all of these; a personal library is usually a mix of richly-detailed and mostly blank entries, depending on what was findable. Where that comes from depends on how a book was imported:
- Whatever Highlights itself already looked up and cached, read from
MetadataCache.jsononce the folder above is granted. - For a book that comes up short there: Sgeulai looks it up itself — its own cache first, then online, by ISBN when one's known or by title and author when it isn't. Runs quietly in the background the first time a book's highlights are browsed or a citation is created from one; a book already looked up completes instantly from then on.
The online half of this — Google Books, then Open Library, whichever answers first — works with no setup at all, against Google's shared anonymous quota. That quota is easy to exhaust on a library-sized import and returns nothing until it resets; an optional Google Books API key, entered on Settings ▸ Linking, raises the ceiling to your own. See Settings reference.
Whatever's known lands in two places:
- On the Source entity a highlight creates or matches (see below) — publisher, year and ISBN fill the same fields a manual bibliography import would use, and the description and subjects fill a plain-text abstract and keyword list. Only set on a Source at the moment it's created from a highlight — an existing Source's fields are never silently overwritten by a later refresh. These sit right on the Source record's own Overview tab, editable, alongside a cover picture downloaded the same blank-only way whenever Google Books' answer includes one.
- In the hover tooltip and click popover on an inserted highlight link (see Reading an inserted highlight below) — available the moment it's known, whether or not that highlight has been inserted anywhere yet.
Browsing
Tools ▸ Research Highlights… opens a two-pane browser: books down the left, each showing its title (or author, or the raw ISBN — see Extended book details above, if a real title hasn't resolved yet) and how many highlights it has; that book's highlights and notes on the right, sorted by when you made them. A search field narrows both panes at once, and a segmented control next to it scopes what the search actually matches — All by default, or narrow to just Book (title and author), Quotes (the highlighted passage), or Notes (whatever you wrote alongside it).
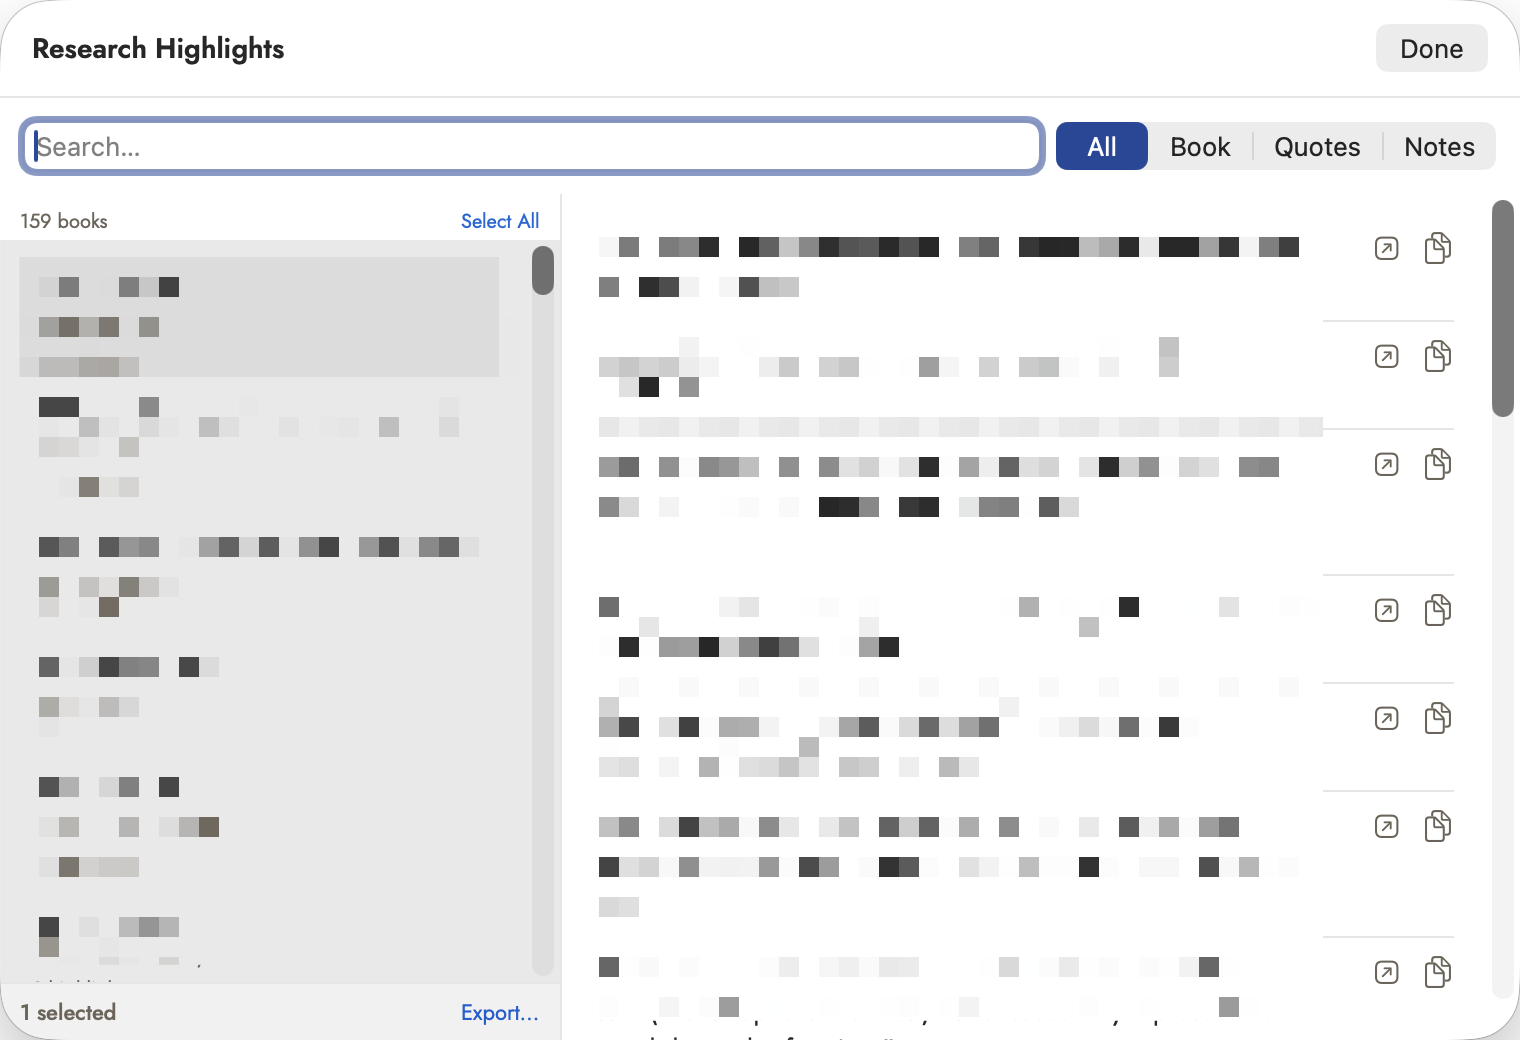 Book count top-left, selection count bottom-left, and
Export… appearing beside it the moment anything is picked. The titles and
passages here are deliberately obscured; everything that tells you how the
window works is not.
Book count top-left, selection count bottom-left, and
Export… appearing beside it the moment anything is picked. The titles and
passages here are deliberately obscured; everything that tells you how the
window works is not.
Two icons sit on every row, no click into the highlight needed first: an arrow-and-app icon opens the book in Apple Books (greyed out when Sgeulai has no book link to open), and a document icon copies the highlighted text — it flips to a green checkmark for a moment to confirm the click landed. Both do the same thing the popover's own buttons do (see Reading an inserted highlight below); these are just reachable without opening it first.
The book list on the left takes a native multi-select — ⌘-click or ⇧-click to add to it, ⌘A for all of them, or Select All / Select None above the list — and selecting more than one book splits the right-hand pane into a section per book instead of one flat list. An Export… bar appears along the bottom the moment anything's selected, naming how many books are picked; it writes every highlight and note from those books out as one plain-Markdown file — a heading and byline per book, each highlight as a blockquote with any note of yours beneath it, in the order you made them. The save panel names the file after the one book chosen, or plainly “Highlights” for several. This is a one-way export for reading or sharing outside Sgeulai, not a link back the way pasting or inserting a highlight is — the file it produces carries no citation, no source record, nothing for Sgeulai itself to read back in.
Copying a highlight or note directly
The plainest path of all: click Copy on a highlight or note in the browser (or its detail popover), then paste — ⌘V, same as any other text — wherever you're writing: the manuscript, a note, a comment. What lands is exactly the text you copied, nothing added around it, but the paste is tagged behind the scenes with which highlight it came from, so Sgeulai can tell a highlight paste from any other paste the moment it lands.
That recognition is what does the rest of the work, automatically:
- A highlighted passage gets recorded on the current record's own Sources & Citations list, matched to an existing Source entry for that book or creating one on the spot — the same Source a book's highlights always share, filled with whatever is known (see Extended book details above), and never duplicated for a book already cited.
- A note — your own annotation, not a highlighted passage — becomes a new Note record instead, citing the Source by wikilink rather than creating a citation with nothing to quote.
- A highlight that carries both a passage and your note about it gets both: the citation, and a separate Note for what you wrote.
The pasted text itself is left exactly as pasted either way — this only ever adds what pasting alone can't. It's also marked as a quoted source the same way a citation or a pasted image is, never flagged by the AI-authorship detection that watches for pasted prose, because it isn't prose you wrote, it's a quote you attributed.
Inserting into the manuscript
⌃⌘7 in the manuscript editor, or the highlighter icon in its toolbar, opens the same browser in picker mode — click a highlight instead of just reading it, and it's inserted at the cursor as a blockquote:
This is the same Sources & Citations recording described just above —
matched to an existing Source entry for that book if one exists, or a new
one created on the spot, with an Open in Apple Books link
on its Connections tab when the book has an ibooks:// link
Apple Books can resolve — plus everything extended
book details knows. The difference from a plain copy-and-paste is the
result on the page: a formatted blockquote with its link folded in, rather
than bare text.
Inserting into notes and comments
The same highlighter icon appears in the note/comment editor's own toolbar, and inserts the identical quote-plus-link, but without a citation — this button is for research context sitting next to your notes, not for something that needs its own Sources & Citations entry. Copying and pasting into the same note instead (see above) does create one; the icon and the paste are deliberately different paths into the same field.
A third path exists on a record's own Sources & Citations tab: Insert from Highlights… opens the picker and prefills the Add Citation form from whatever you chose, matching an existing Source the same way the manuscript path does — but, unlike inserting into prose, it only ever matches; creating the Source entry itself is left to you, in the form it opens into.
Reading an inserted highlight
Hover the inserted link and a tooltip shows the quoted passage and the book it came from, without leaving the page — plus publisher and year on the same line, when known. Click it, and a popover opens with the book's title and author, that same publisher/year/ISBN line, the full quote, your own note on it if you wrote one in Highlights, subject tags and a description when Highlights found them, and two buttons: Open in Apple Books (disabled when the highlight carries no book link) and Copy Text, which flips briefly to a green “Copied” to confirm it took. This same popover is what opens from a row in the Research Highlights browser itself, so the extended details are visible there too, before a highlight is ever inserted anywhere.